
Sterilizing Autoclave Pipette Tips is vital for maintaining lab safety and ensuring accurate results. Non-sterile tips can introduce microbial contamination, leading to errors and delays in experiments. Autoclaving is highly effective, eliminating microbes like fungi and bacteria. Compared to other methods, it provides comprehensive sterility, making it essential for reliable laboratory practices.
Preparation for Autoclaving Pipette Tips
Materials Needed for Autoclaving
To safely sterilize pipette tips, you need the right materials. Always use pipette tips made from polypropylene or its copolymers, as these materials can withstand repeated autoclaving. Avoid using polyethylene tips, as they may melt under high temperatures. Ensure that the tips are labeled "Autoclavable" to confirm their suitability. Additionally, you will need autoclave-safe racks or sterilization cases to hold the tips during the process. These racks help maintain the integrity of the tips and ensure proper air circulation for effective sterilization.
Inspecting Pipette Tips for Damage or Contamination
Before autoclaving, inspect each pipette tip for cracks, chips, or other visible damage. Damaged tips can compromise sterility and lead to inaccurate results. Check for any residual contamination, such as dried liquids or particles, which could interfere with the sterilization process. Discard any tips that show signs of damage or contamination to maintain the integrity of your experiments.
Cleaning Used Pipette Tips Before Autoclaving
If you are reusing pipette tips, clean them thoroughly before autoclaving. Rinse the tips with distilled water to remove any chemical residues. For stubborn contaminants, use a sterilizing solution to ensure complete removal. Proper cleaning not only enhances sterility but also prevents residues from affecting the autoclave's performance.
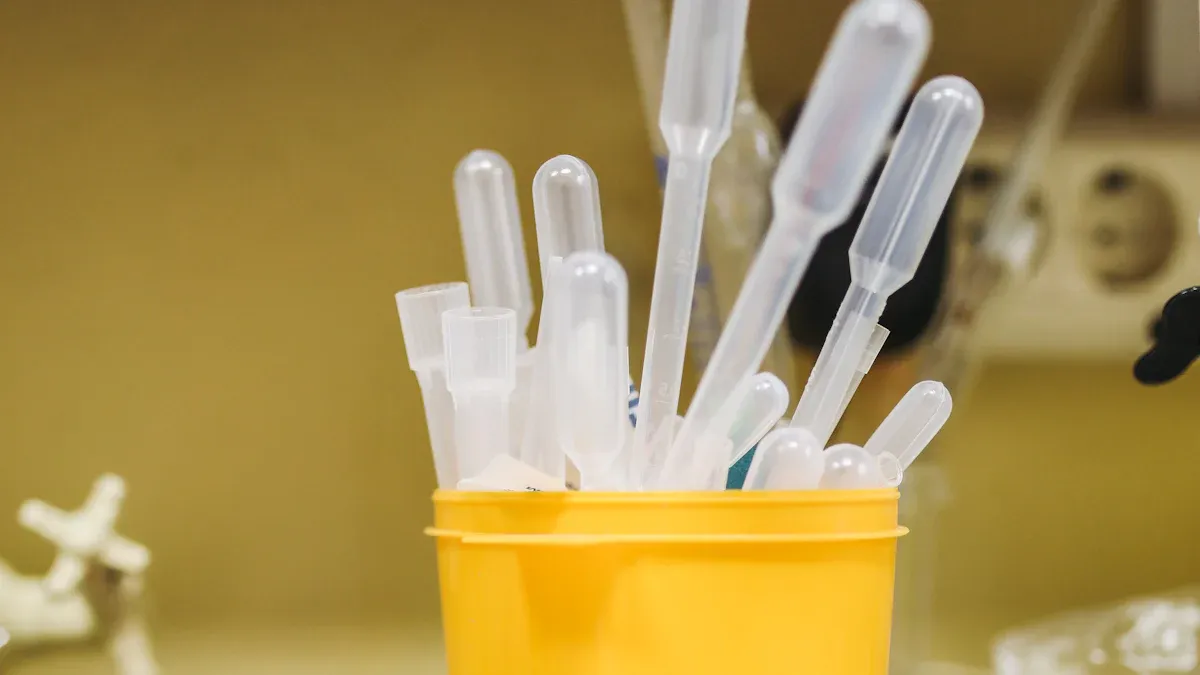
Loading Pipette Tips into Autoclave-Safe Racks
Place the pipette tips into autoclave-safe racks or sterilization cases. Arrange them in a way that allows good air circulation. Avoid overloading the racks, as this can hinder the sterilization process. If you are using sealed sterile tips, do not autoclave them again, as they are already sterile. Once loaded, ensure the racks are securely placed to prevent tipping during the autoclaving cycle.
Preparation for Autoclaving Pipette Tips
Setting Up the Autoclave
Before starting, ensure the autoclave is clean and functioning properly. Check the water reservoir and fill it if necessary. Inspect the door gasket for any signs of wear or damage, as this could compromise the process. Always follow the manufacturer's instructions to set up the autoclave correctly. Using a well-maintained autoclave ensures the sterility of your pipette tips and prevents cross-contamination.
Selecting the Correct Sterilization Cycle
Choosing the appropriate cycle is crucial for effective sterilization. Common cycles include:
- Gravity cycle: Relies on natural steam flow and is ideal for pipette tips. Set it to 252°F for 20 minutes at one bar of relative pressure.
- Vacuum (prevac) cycle: Uses a vacuum to remove air before introducing steam, ensuring better penetration.
- Liquid cycle: Designed for liquid-filled containers but not typically used for pipette tips.
Selecting pipette tips that can withstand these conditions is essential for maintaining their integrity.
Loading the Autoclave Safely
When loading the autoclave, wear personal protective equipment (PPE) such as gloves, safety glasses, and a lab coat. Arrange the racks with sufficient space between them to allow steam circulation. Avoid tightly packing the autoclave, as this can hinder sterilization. Ensure the lids of tip trays are slightly open to allow steam to penetrate. Never wrap items in foil, as it traps moisture and prevents proper sterilization.
Running the Autoclave and Monitoring the Process
Start the autoclave and monitor the process closely. Check the temperature, pressure, and cycle time to ensure they meet the required settings. Use internal chemical indicators, such as type 4 or type 5 strips, to confirm that sterilizing agents have penetrated the packaging. Mechanical monitoring, such as observing gauges, helps verify that the autoclave is functioning correctly. Document the process for traceability and quality assurance.
Cooling and Unloading the Autoclave
Once the cycle is complete, allow the autoclave to cool before opening it. Check the pressure gauge to ensure it reads 0 PSI. Stand behind the door and open it slowly to release residual steam safely. Let the pipette tips cool naturally inside the autoclave to maintain sterility. For faster drying, transfer the racks to a drying cabinet set at 55°C. Proper cooling and unloading prevent damage to high-quality tips and preserve their performance.
Post-Autoclaving Pipette Tip Usage and Storage
Removing Sterilized Pipette Tips Safely
Handling sterilized pipette tips correctly is crucial to maintaining their sterility. Always wear gloves to prevent contamination from skin contact. Use only consumables labeled as "sterile" to minimize risks. Before using the tips, clean the pipette and its holder with 70% ethanol. This step ensures that no contaminants compromise the sterility of the tips. When removing tips from the autoclave, avoid exposing them to open air for extended periods. Transfer them directly to a clean, sealed container or their original packaging to preserve their integrity.
Inspecting Tips for Post-Sterilization Damage
After autoclaving, inspect the pipette tips for any signs of damage. Look for warping, cracks, or discoloration, as these issues can affect their performance. Damaged tips may compromise the accuracy of your experiments or introduce contaminants. Discard any tips that show visible defects. This inspection step ensures that only high-quality, sterile tips are used in your work.
Storing Pipette Tips to Maintain Sterility
Proper storage is essential to keep pipette tips sterile after autoclaving. Store the tips in their original sealed packaging or an airtight container to prevent exposure to contaminants. Avoid wrapping tip boxes in foil, as this can trap moisture and promote microbial growth. Place the storage container in a cool, dry location away from direct sunlight and humidity. Regularly clean the storage boxes to maintain their efficiency. These practices help ensure the sterility of your pipette tips until their next use.
Labeling and Organizing Sterilized Tips
Labeling and organizing your sterilized pipette tips improve efficiency and reduce errors. Use clear labels to indicate the sterilization date and the type of tips stored. Arrange the tips by size or application to make them easy to locate during experiments. Keep the storage area tidy to avoid accidental contamination. Proper organization not only saves time but also ensures that you always have sterile tips ready for use.
Common Mistakes When Autoclaving Pipette Tips
Overloading the Autoclave
Overloading the autoclave compromises the sterilization process. When you pack too many pipette tips into the chamber, steam cannot circulate effectively. This results in uneven sterilization, leaving some tips non-sterile. Always arrange tips in autoclave-safe racks with enough space between them. Avoid stacking racks too tightly. Proper spacing ensures that steam reaches every tip, maintaining their sterility and integrity.
Using Incorrect Autoclave Settings
Incorrect settings can damage pipette tips or fail to sterilize them. For example, pipette tips should only be autoclaved once at 121°C for 10 minutes, followed by a drying cycle at 110°C for 5 minutes. Using higher temperatures or longer cycles can make tips brittle or cause filters to flake. The risks associated with improper settings include:
| Safety Risk | Description |
|---|---|
| Heat burns | From hot materials and autoclave chamber walls and door |
| Steam burns | From residual steam released after the cycle |
| Hot fluid scalds | From boiling liquids or spills inside the autoclave |
| Hand and arm injuries | When closing the autoclave door |
| Body injury | If there is an explosion due to improper pressure or loading |
Always follow the manufacturer's guidelines to select the correct cycle for autoclave pipette tips.
Skipping Pre-Cleaning Steps
Skipping pre-cleaning steps leads to contamination issues. Residual chemicals or biological materials on used tips can interfere with sterilization. This can result in:
- Pipette-to-sample contamination, where the pipette introduces contaminants into the sample.
- Sample-to-pipette contamination, where the sample contaminates the pipette body.
- Sample-to-sample contamination, where residues transfer between samples.
Thoroughly clean tips with distilled water or a chemical decontamination solution before autoclaving. This step is essential for preventing cross-contamination and ensuring reliable results.
Improper Handling After Sterilization
Handling sterilized tips improperly can undo the sterilization process. Always wear gloves when removing tips from the autoclave. Avoid touching the tips directly or exposing them to open air for extended periods. Transfer them immediately to sealed containers or racks designed for pipette tip usage and storage. These practices help maintain the sterility of your tips.
Storing Tips in Non-Sterile Conditions
Storing tips in non-sterile conditions exposes them to contaminants. Use airtight containers or sealed tip boxes to protect sterile tips. Avoid wrapping tips in foil, as it traps moisture and promotes microbial growth. Store tips in a cool, dry place to preserve their sterility and the chemical resistance of pipette tips. Proper storage ensures the integrity of your tips for future use.
Tip: Always inspect tips for damage or warping after autoclaving. Damaged tips can compromise your experiments and lead to inaccurate results.
Sterilizing pipette tips is essential for maintaining lab safety and ensuring accurate results. Proper sterilization prevents contamination, preserves the integrity of your experiments, and supports reliable outcomes.
To summarize, follow these steps for effective sterilization:
- Prepare by inspecting and cleaning pipette tips.
- Autoclave using the correct settings and ensure proper air circulation.
- After sterilization, handle tips carefully and store them in sealed containers to maintain sterility.
Key takeaways for lab safety include:
- Use autoclaves to eliminate microbial build-up.
- Store tips in their original packaging or airtight containers.
- Inspect tips for damage before use and avoid exposing them to open air.
By following these practices, you ensure the storage and usage of sterile pipette tips, which minimizes contamination risks and enhances experimental accuracy.
Post time: Feb-19-2025